
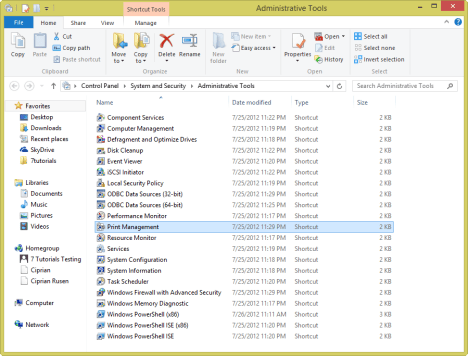
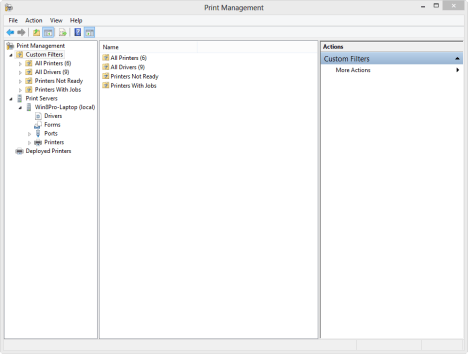
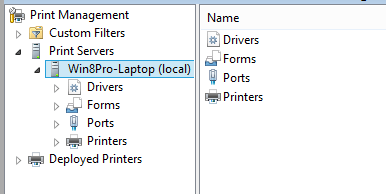
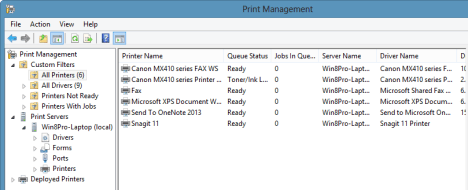
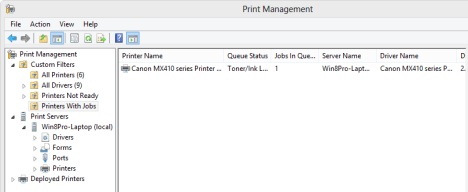
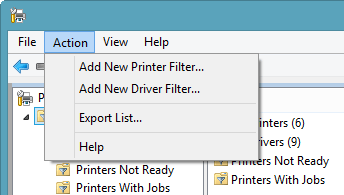
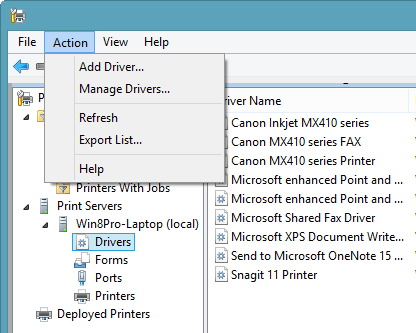
Print Management Console - Administrative Tools
Print Management Console - Administrative Tools
Print Management Console - Administrative Tools
Print Management Console - Administrative Tools
Print Management Console - Administrative -Tools
Print Management Console - Administrative Tools
Print Management Console - Administrative Tools
Print Management Console - Administrative Tools
Print Management Console - Administrative Tools
Print Management Console - Administrative Tools
Print Management Console - Administrative Tools
Print Management Console - Administrative Tools
Print Management Console - Administrative Tools
Print Management Console - Administrative Tools
Print Management Console - Administrative Tools
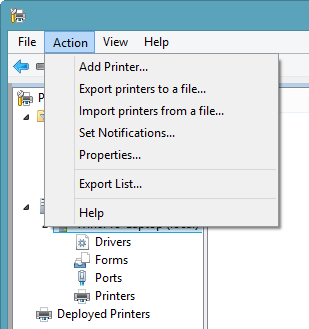
Print Management Console - Administrative Tools


tlover tonet
WONDERFUL Post.thanks for share..extra wait .. …