
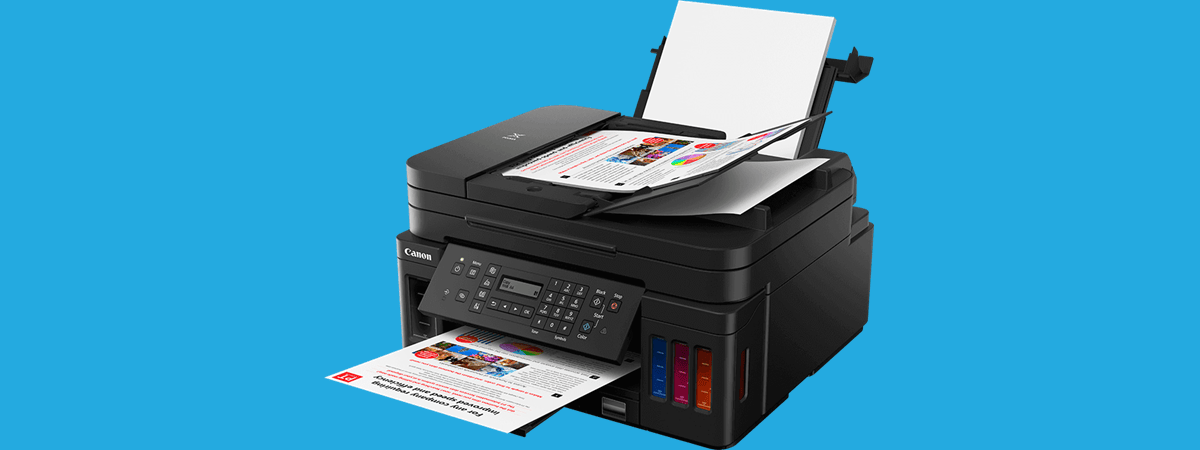

A wireless printer made by Canon
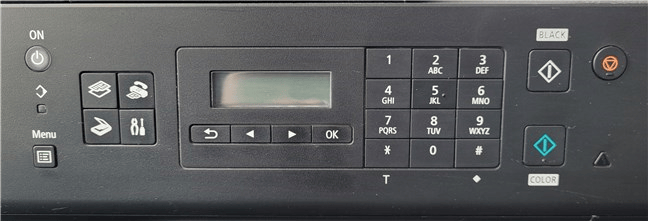
Turn on the Wi-Fi printer and start configuring it
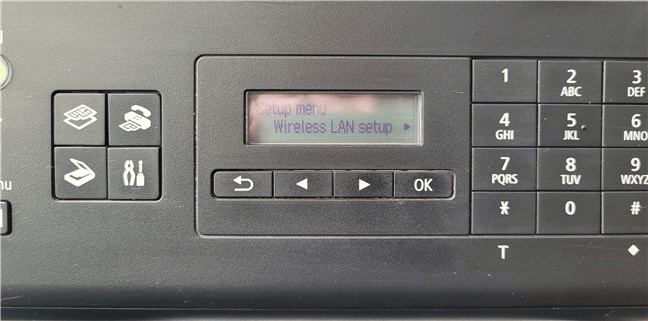
Accessing the Wireless LAN setup menu on Wi-Fi printer
The web-based configuration interface of a wireless printer
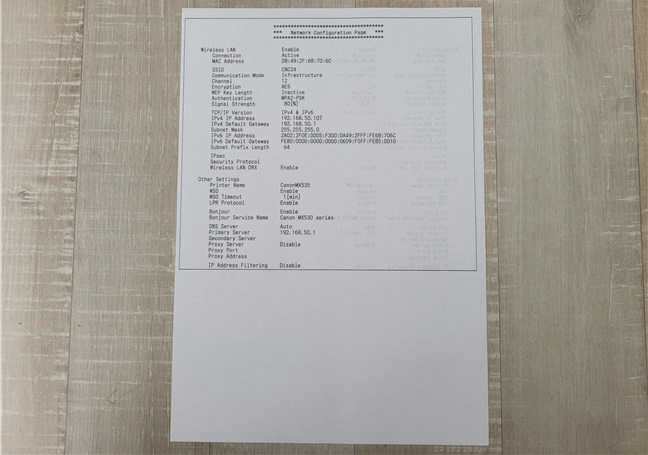
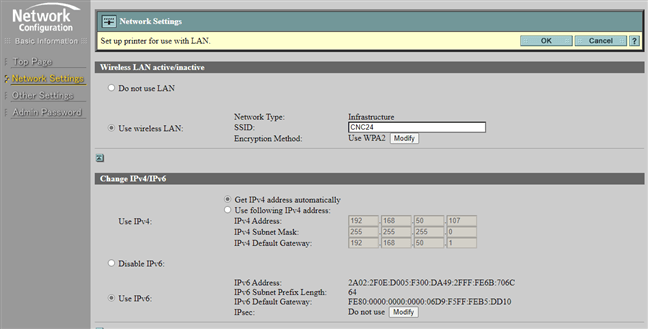
The Network Configuration Page shows the connection details for a wireless printer
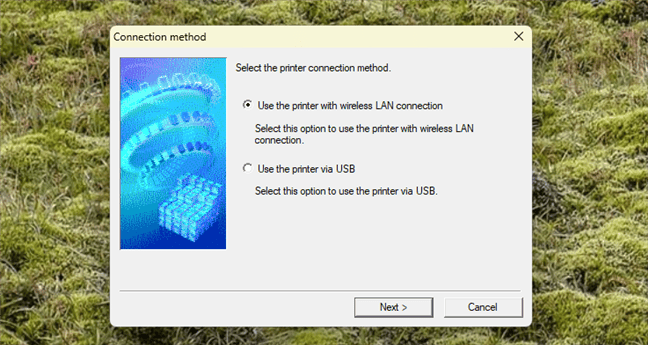
How to add a wireless printer
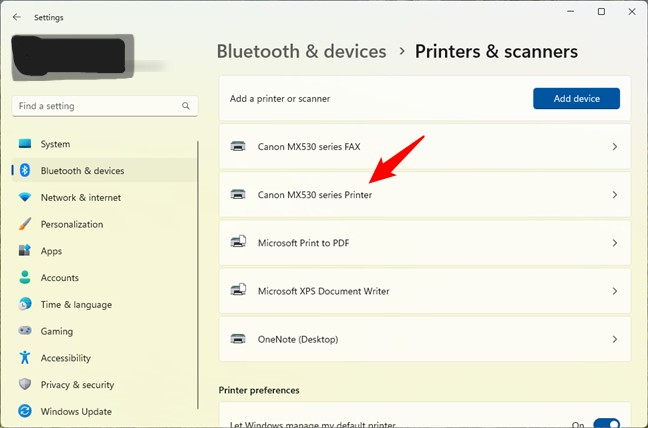
A wireless printer installed and listed in Window 11's Setting
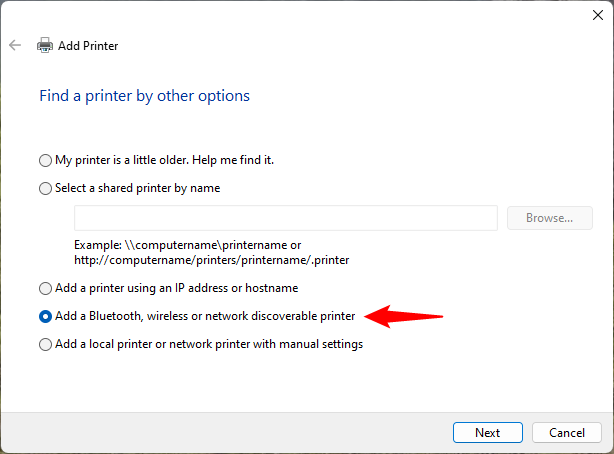
How to add a wireless printer from the Control Panel
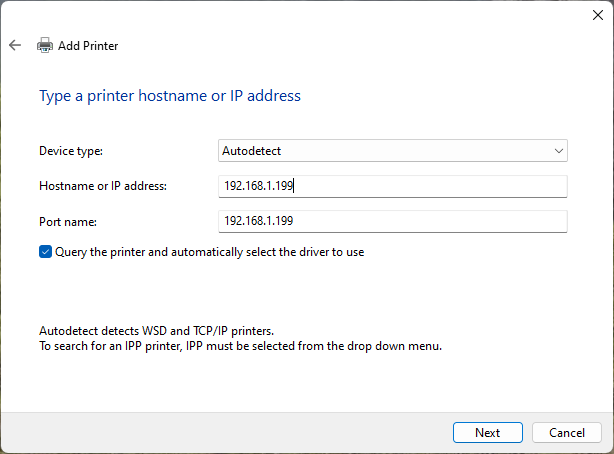
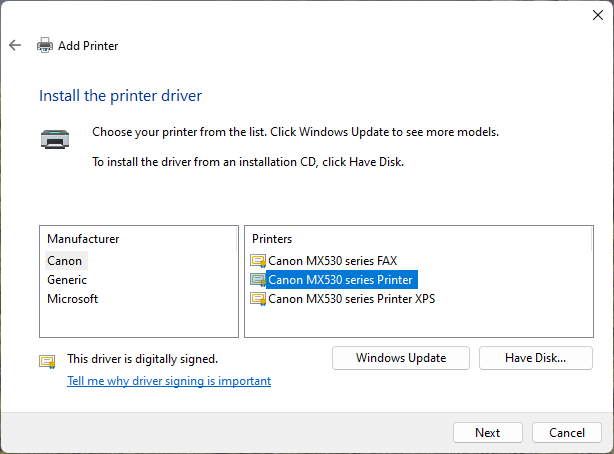
How to add a wireless printer from the Control Panel using an IP address
How to setup a wireless printer using manual settings
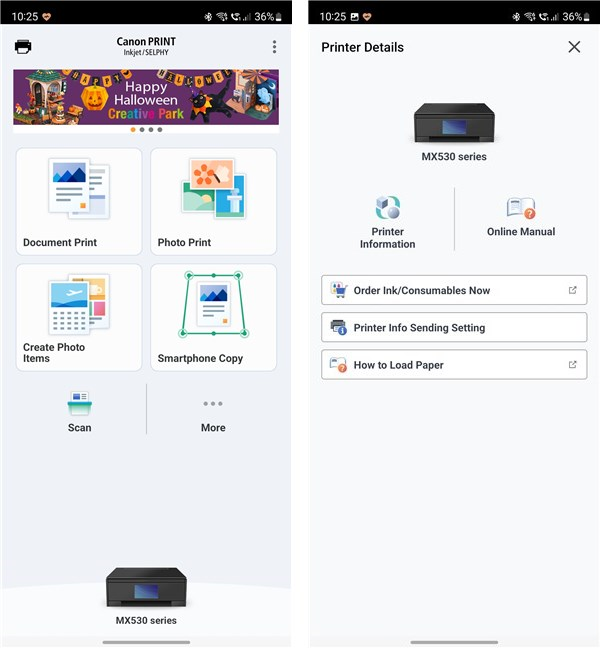
A mobile app for a wireless printer


tlovertonet
Perfectly composed subject material, Really enjoyed looking through.