

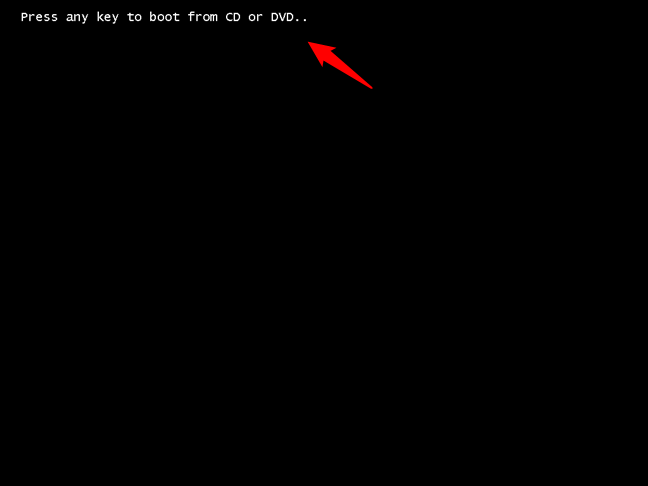
Press any key to boot from CD or DVD
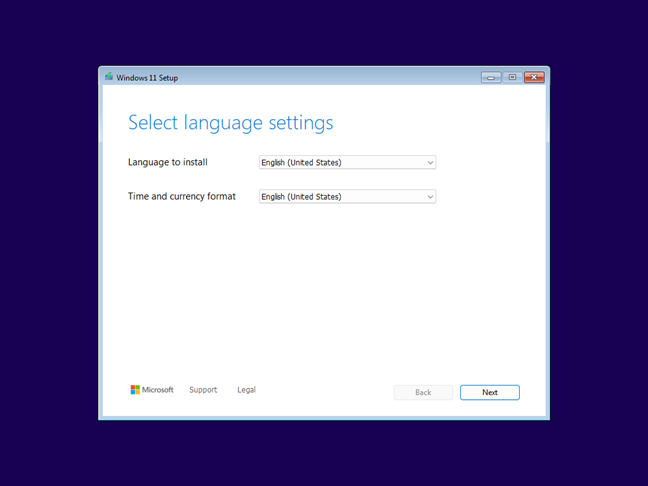
The first setup of Windows 11 Setup wizard
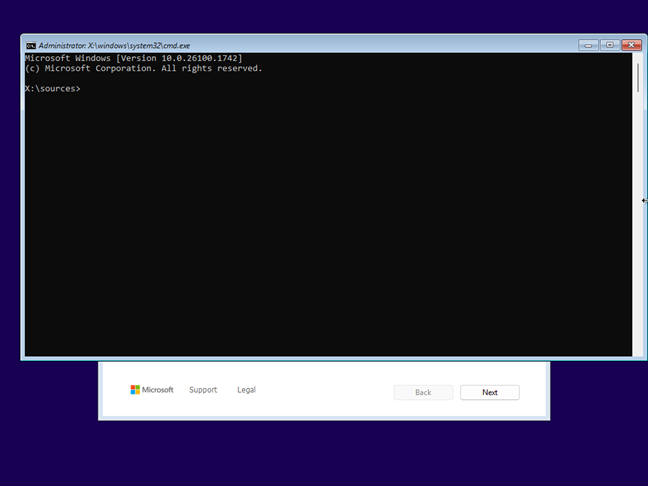
press Shift + F10 to launch CMD during setup
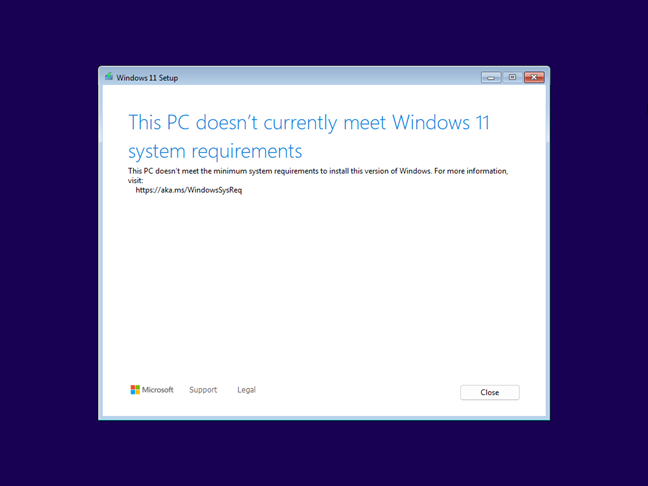
The PC doesn't currently meet Windows 11 system requirement
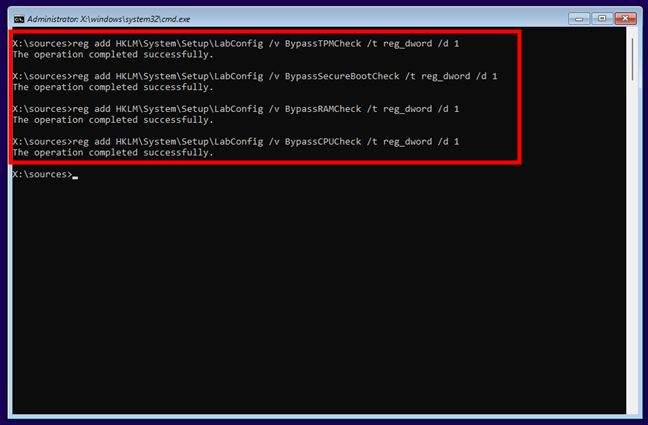
The command that bypass Window 11's TPM, SecureBoot, RAM and CPU checks
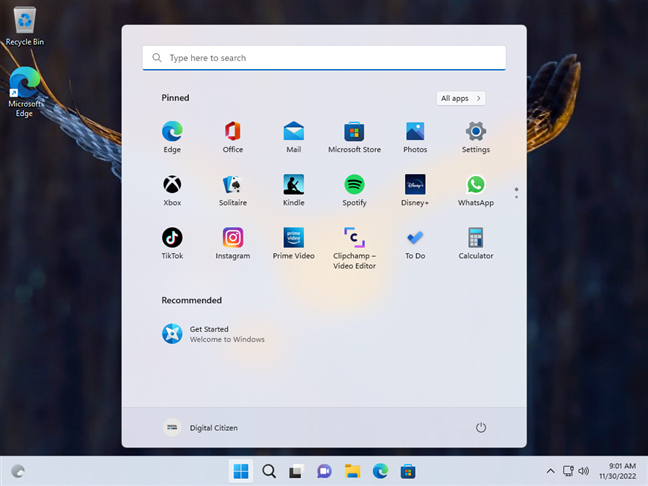
Window 11 running on unsupported hardware
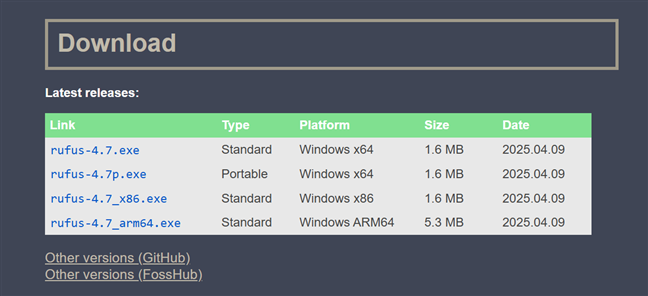
Download and run Rufus

Connect and select the USB drive for Window 11
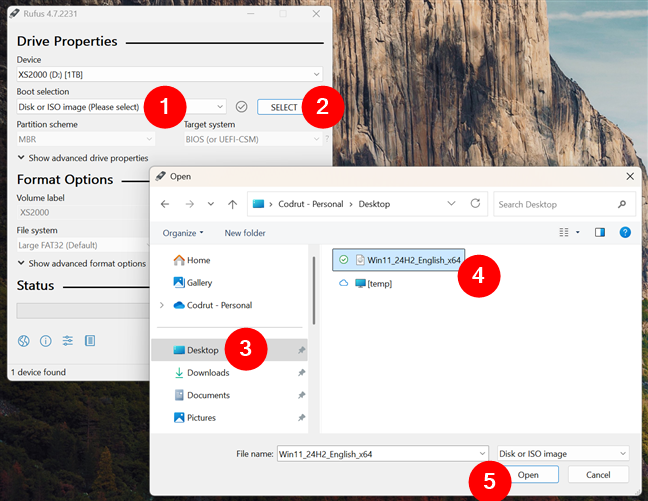
Select the Windows 11 ISO file
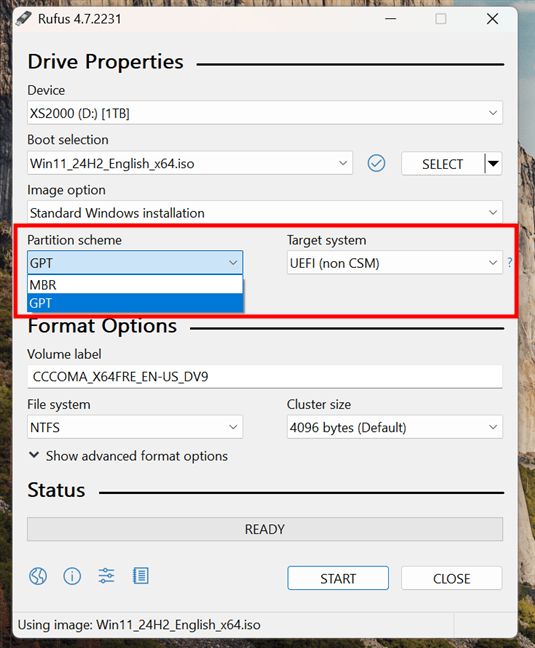
Choose between GPT (UEFI, non CSM) and MBR (BIOS, UEFI-CSM)
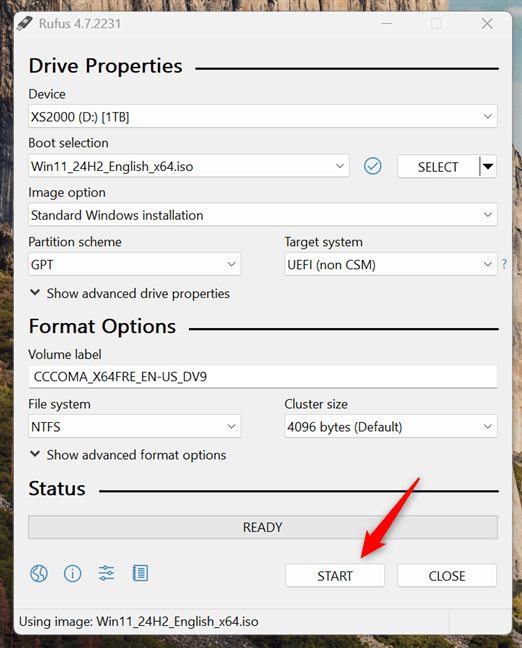
Start creating the Window 11 installation drive
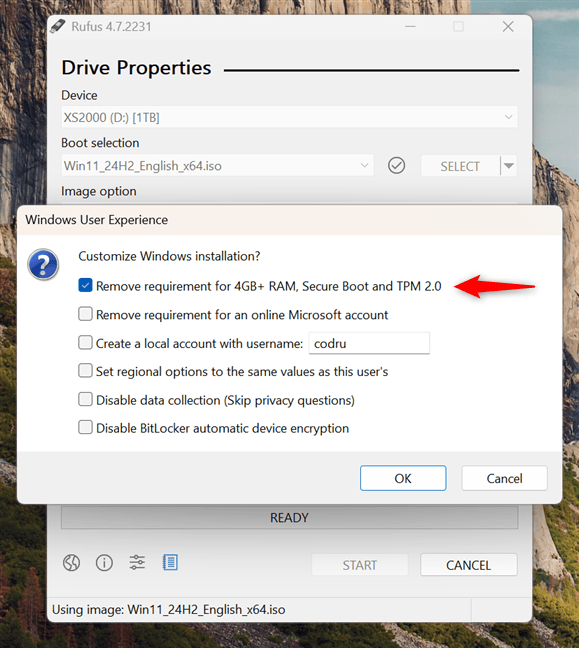
Remove requirement for 4GB+ RAM, Secure Boot and TPM 2.0
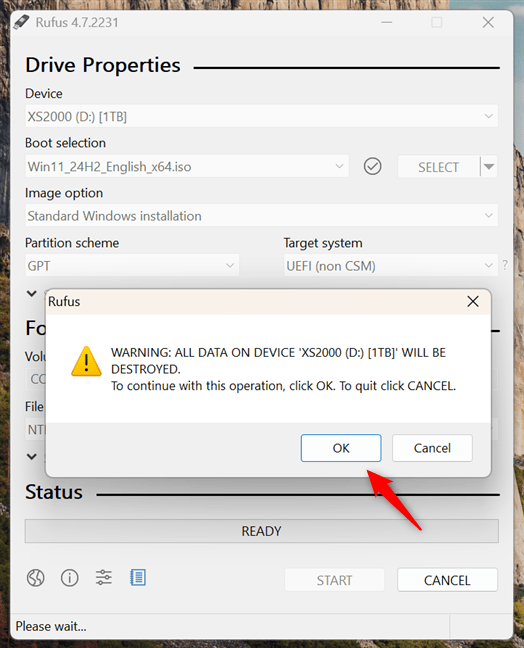
Rufus warns you that the data on the USB drive will be lost
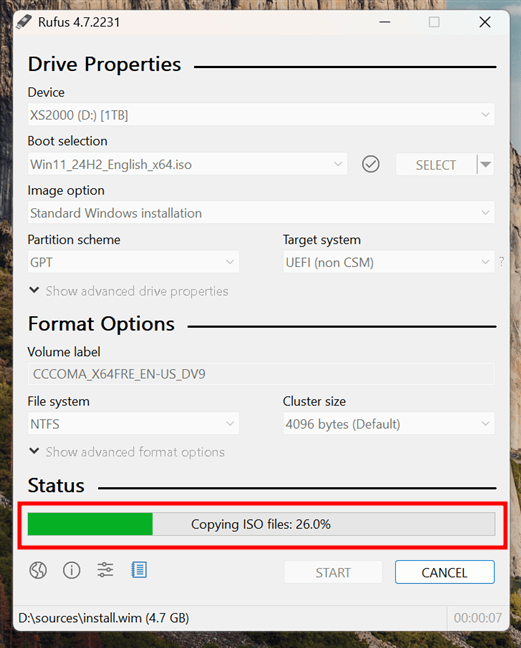
Rufus creates the Windows 11 USB drive
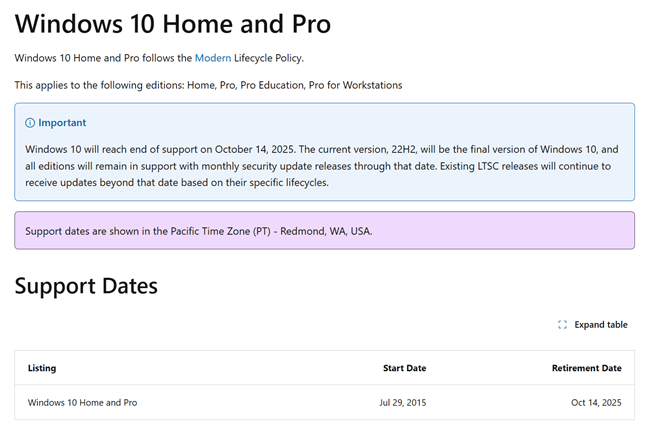
Windows 10 End of Support


Leave a Reply