


The Settings button from the Start Menu
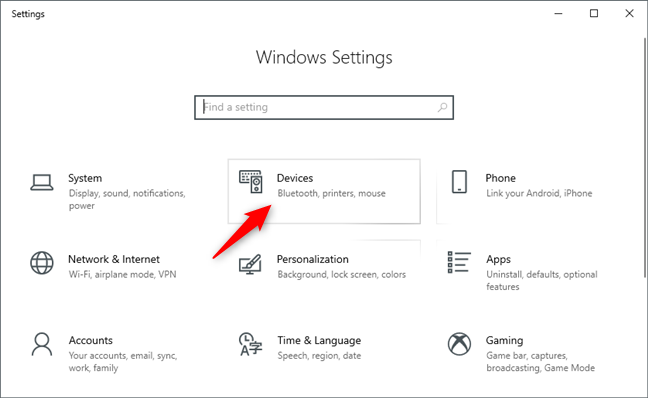
The Devices category from the Settings app
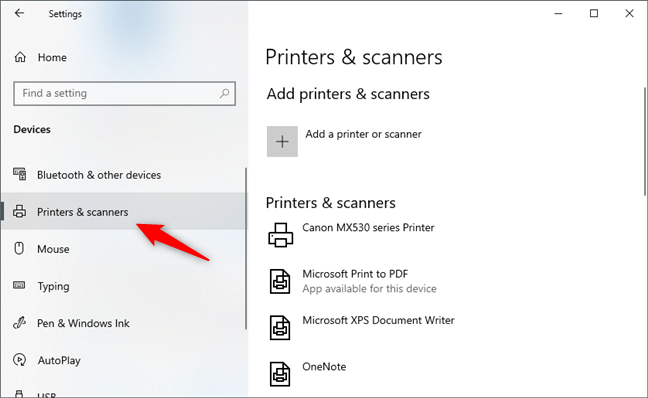
The Printers & scanners section from the Settings app
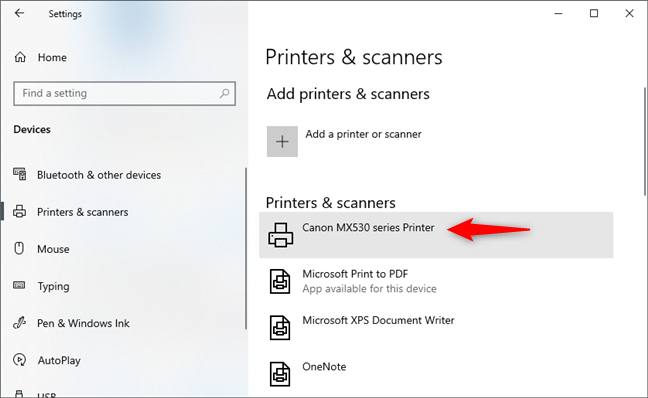
Select the printer to share
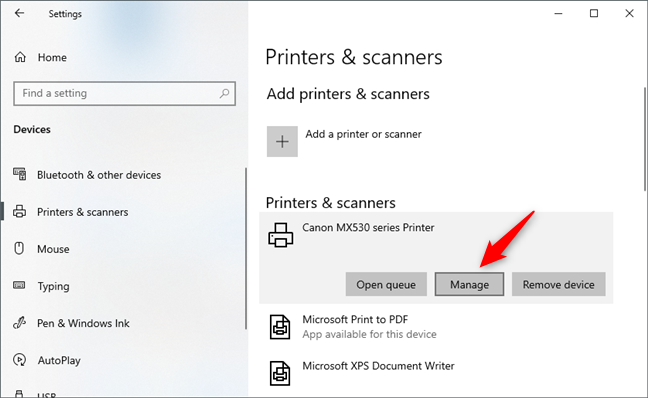
Pushing the Manage button
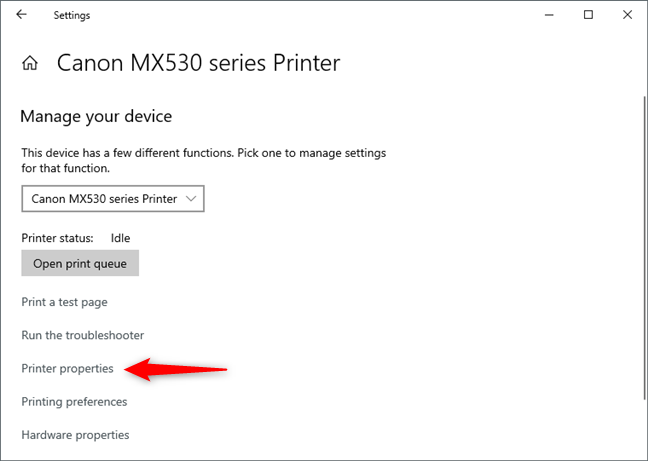
The Printer properties link
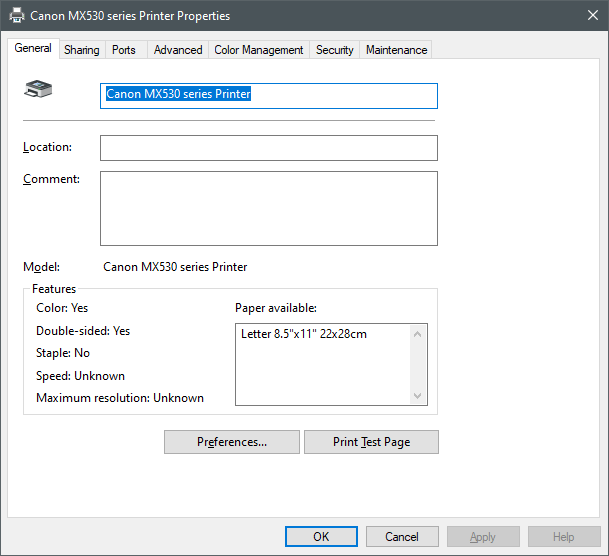
The Properties window of the selected printer
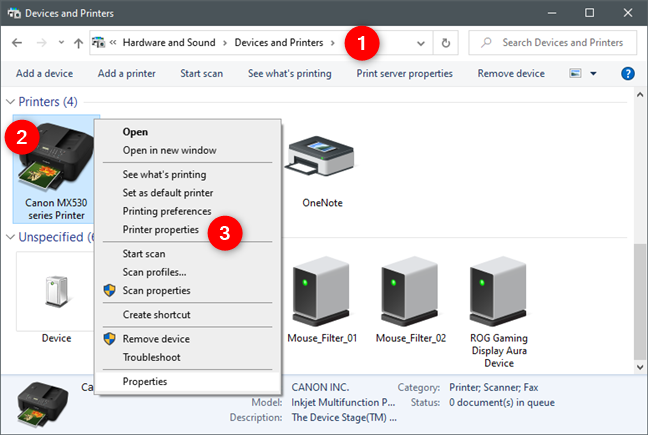
Opening the printer Properties from the Control Panel
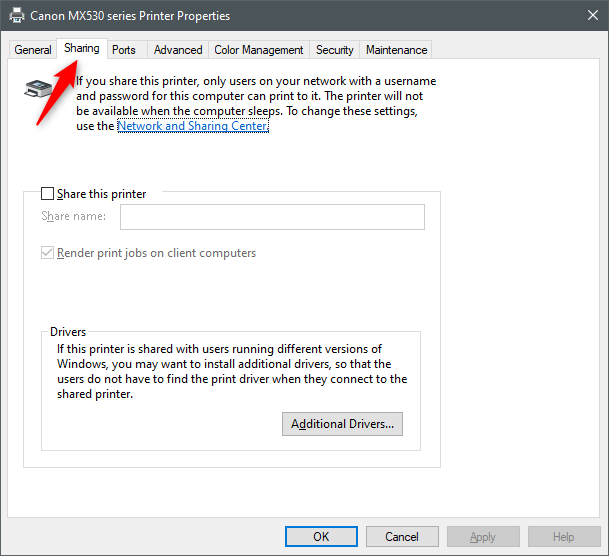
The Sharing tab from the printer's Properties window
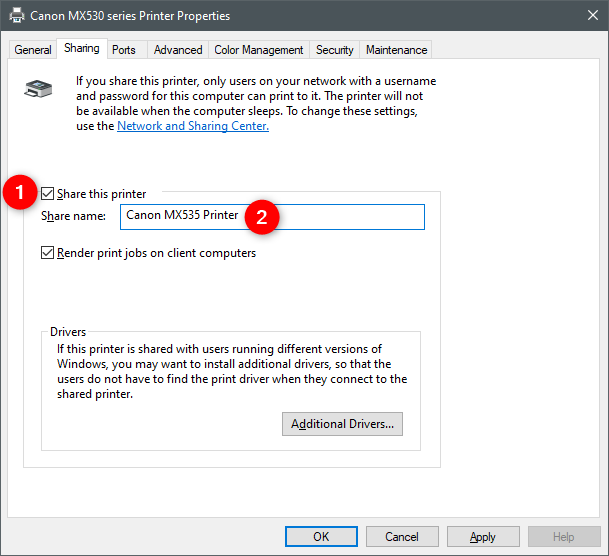
Enabling Share this printer and choosing a Share name
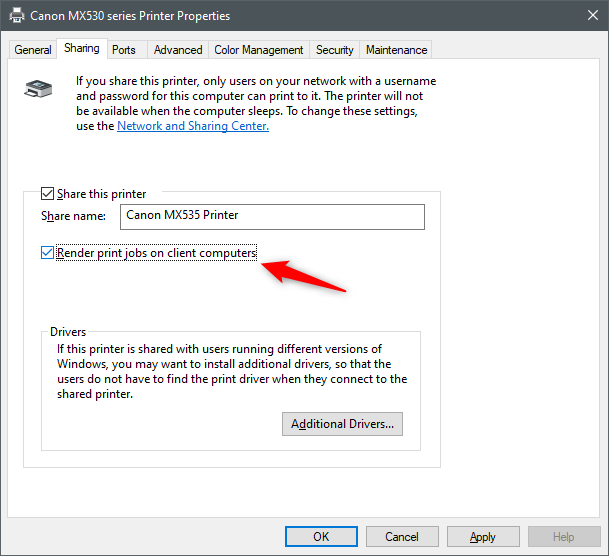
Render print jobs on client computers
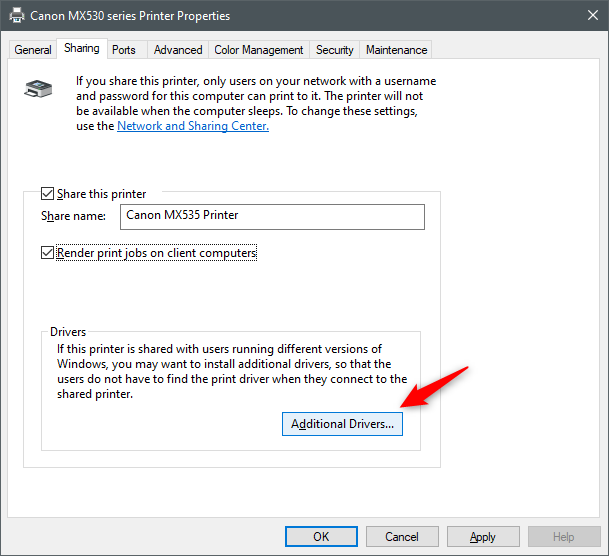
The Additional Drivers button
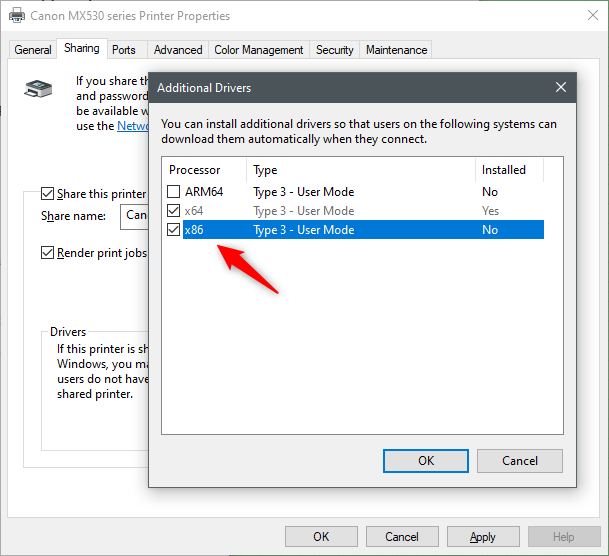
Choosing what additional drivers you want to install for the shared printer
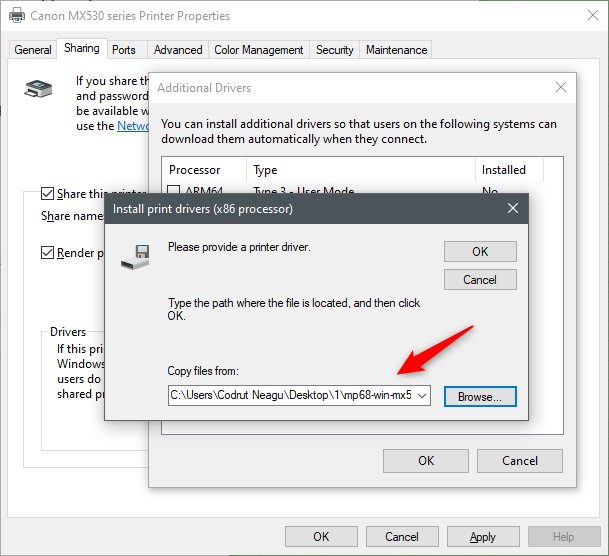
Specifying the location of the additional drivers
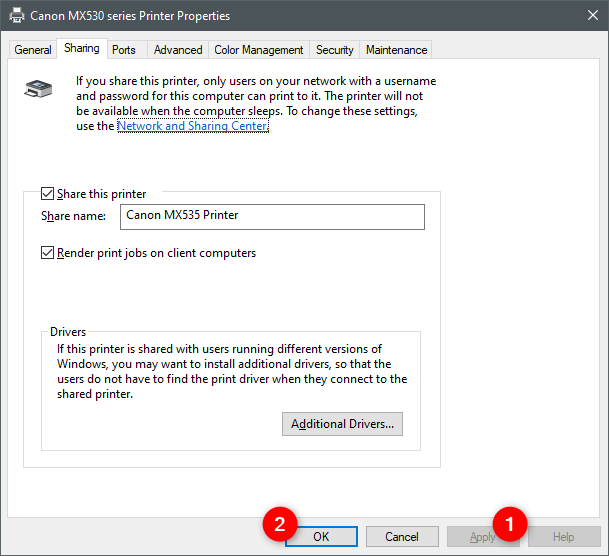
Saving the changes so that the printer is shared with the network


tlovertonet
Some truly marvelous work on behalf of the owner of this site, absolutely outstanding content.